Edit Mix Groups
📝 Note: Edit Mix Groups are available in Waveform Pro only. They are not included in the Free or OEM editions. The feature is also unlocked separately by the Recording Engineer Expansion, but core Waveform Pro already includes it — you do not need the expansion to use it.
An Edit Mix Group links two or more audio tracks together so that an action you perform on one member is mirrored on the others. Adjust the fader on a grouped vocal track and every other track in the group moves with it; mute one and they all mute. This is the classic mixing-console idea of a fader group, brought into Waveform's mixer.
Exactly which actions are linked is up to you. A group is not all-or-nothing: it has eleven independent toggles, so you might link only volume and mute on one group, while another group links panning, solo, and track colour as well. By default a new group links volume and mute (and is enabled); everything else is left switched off until you turn it on.
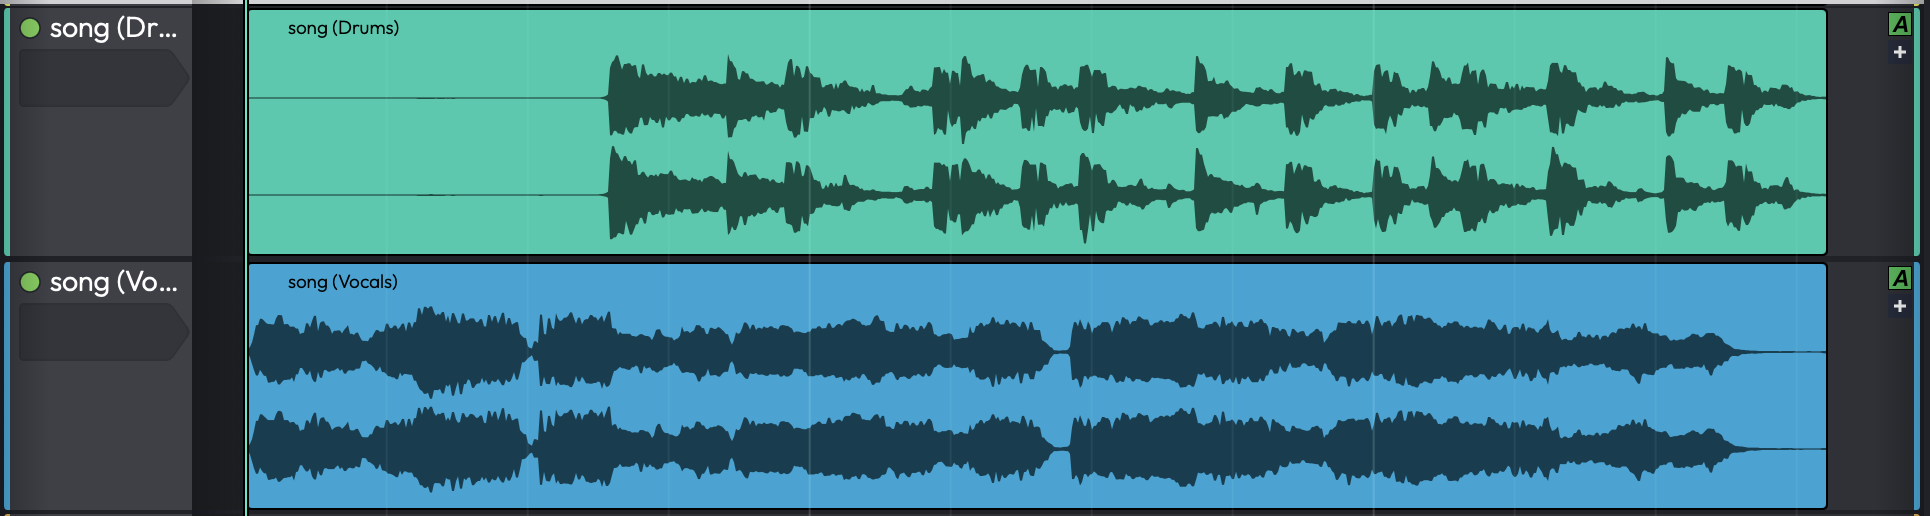
Two audio tracks linked by an Edit Mix Group
What Gets Linked
Each group exposes the following link toggles in its property panel. The Enable Group toggle is the master switch — when it is off, the group does nothing, regardless of the other settings.
| Toggle | Default | What it links |
|---|---|---|
| Enable Group | On | Master switch — when off, nothing in the group propagates |
| Link volume operations | On | Fader moves, applied proportionally (relative balance is preserved) |
| Link mute operations | On | Mute state |
| Link editing operations | Off | Clip take selection and comp edits for clips at the same timeline position |
| Link pan operations | Off | Pan, applied as an offset (relative pan positions are preserved) |
| Link solo operations | Off | Solo and solo-isolate |
| Link record operations | Off | Record-arm |
| Link send operations | Off | Aux Send level and mute |
| Link colour operations | Off | Track colour |
| Link track height operations | Off | Track height |
| Link hide and show operations | Off | Track visibility (show/hide) |
📝 Note: Volume is linked proportionally and pan is linked as an offset, so grouped tracks keep the relative balance and panning you set up — they do not all snap to the same value. The reference positions used for this are captured at the moment the group is enabled or a track is added to it.
The Group Property Panel
Selecting a group (for example, by clicking its header icon — see below) shows its properties:
| Control | Purpose |
|---|---|
| Name of this group | A label for the group. If you leave it blank, the group shows its list number instead. |
| Colour | A hue picker that sets the group's display colour ("Changes the colour of this edit mix group"). |
| Enable Group and the link toggles | The eleven switches described in the table above. |
| Tracks in group | A checklist of every audio track in the edit — tick a track to add it to the group, untick it to remove it. |
| Delete Group | Removes the group (shown as a red button). Deleting a group never deletes its tracks. |
💡 Tip: A group with no name displays its position in the list (1, 2, 3…) so you can still tell groups apart. Giving busy groups descriptive names — "Drums", "BG Vox" — makes them much easier to work with.
Creating and Managing Groups
There are several ways to work with groups, so you can use whichever fits your workflow.
Create a group
- Select the tracks you want to link and run the command "Create Edit Mix Group with selected tracks".
- Or right-click any selected track and choose the same item.
- Or open the Groups sidebar panel and click "Create New Group".
Add or remove tracks
- Use the Tracks in group checklist in the group's property panel.
- Or, from a track's inspector, click the Groups button to add the track to a new group, set it to
, or tick the existing groups it should belong to. - To take tracks out of every group at once, select them and run "Remove selected tracks from Edit Mix Groups". A group that becomes empty as a result is deleted automatically.
Enable, disable, and temporarily bypass
- Toggle a group on or off with the Enable Group switch in its panel, the per-row Disable button in the Groups panel, or the command "Toggle Edit Mix Group enable" (which works on the groups of the currently selected tracks, by majority rule).
- The command "Temporarily disable Edit Mix Groups" is a hold-to-bypass action: all groups are disabled while you hold the key and restored the moment you release it. This is handy for nudging a single track without breaking out of its group.
💡 Tip: The Groups sidebar panel gives you a single place to see every group in the edit, create new ones, and disable them individually.
The Track Header Group Icon
Tracks that belong to one or more groups show a small coloured circle in their header. The circle is divided into one slice per group the track is in, using each group's colour, so you can see at a glance how a track is grouped. A group that is currently disabled is drawn as an outline rather than a filled slice. Clicking the icon selects and cycles through the track's groups.
📝 Note: A single track can belong to several groups at once — that is why the header icon can show more than one slice. For example, a kick-drum track might be in both a "Drums" group and a "Low End" group.
Things to Keep in Mind
- Edit Mix Groups link audio tracks only.
- Deleting a group only removes the grouping — it never deletes the tracks themselves.
- Because volume and pan are linked relatively, a group is a non-destructive overlay on top of your existing mix balance; turning the group off leaves every track exactly where it was.
Related Features
- Submix Tracks — route several tracks through a single processed bus. Use a submix when you want shared processing; use an Edit Mix Group when you want linked controls while keeping each track's own signal path.
- Mixing Down — the broader mixing workflow that groups fit into.